How to Convert Images to HDR Texture Format?
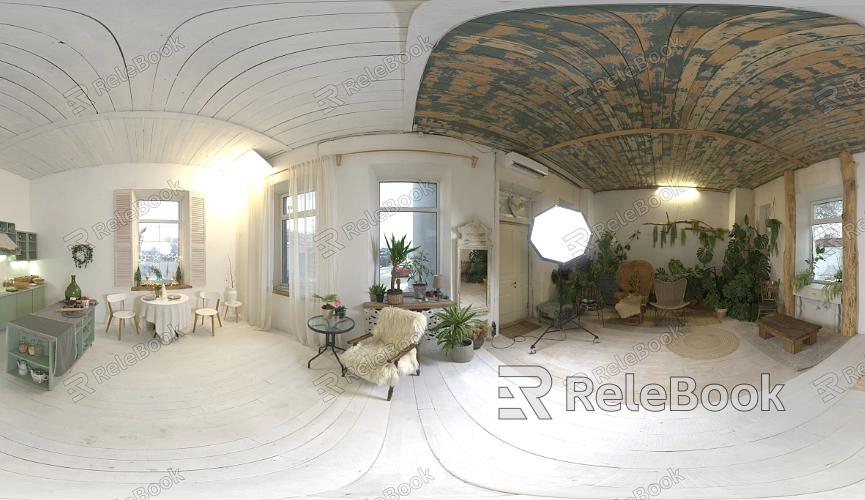
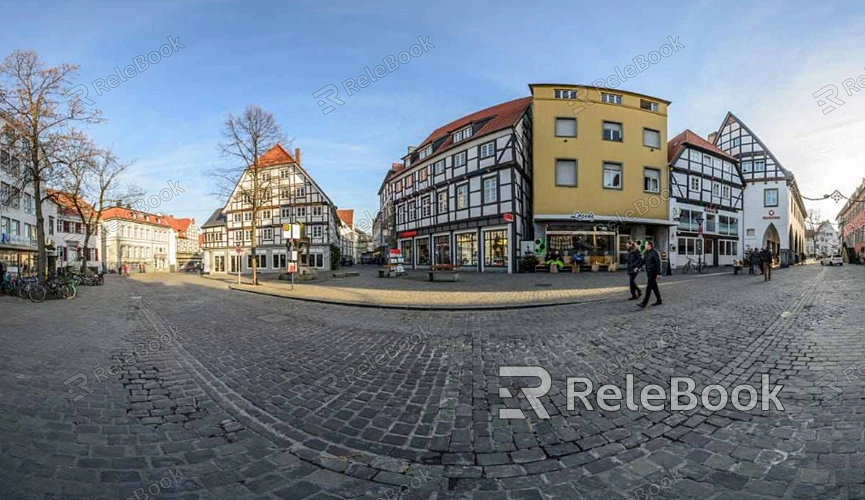
HDR textures capture and showcase a broader range of brightness, from the deepest shadows to the brightest highlights. This capability allows for more realistic and vibrant visual effects during rendering. In 3D software like Blender, 3ds Max, and Maya, HDR textures are commonly used for environment lighting, reflections, and lighting effects. Understanding how to convert standard images into HDR texture formats is crucial for designers. This guide will walk you through the key steps involved in this process, making it easier for you to master this skill.
1. Choose the Right Image Source
Importance of Dynamic Range: To produce high-quality HDR textures, start with images that have a broad dynamic range. This means your image should contain rich details in both the highlights and shadows. Using RAW format photos is often ideal as they preserve more image information.
Exposure Bracketing: To achieve a greater dynamic range, you can take multiple shots of the same scene at different exposures and then merge them into an HDR image. Software like Photoshop or Photomatix can automatically align and combine these images.
2. Use Professional Software for HDR Conversion
HDR Merging Tools: Software such as Adobe Photoshop, Aurora HDR, and Luminance HDR offer image merging and HDR conversion features. These tools not only combine multiple exposures into an HDR image but also adjust tone mapping to ensure the final HDR texture looks natural and detailed.
Tone Mapping: An essential step in the conversion process is tone mapping. This technique compresses the high dynamic range information into a displayable range for standard monitors while preserving highlight and shadow details. Understanding and using tone mapping parameters is crucial for creating high-quality HDR textures.
3. Adjust and Optimize HDR Images
Exposure Adjustment: After generating the HDR image, further optimize the texture effect by adjusting the exposure. Proper exposure settings can enhance the contrast and brightness of the image, making it more vivid when applied to 3D models.
Color Correction: Ensure the colors in your HDR image are accurate and meet design requirements. Use color correction tools to adjust color temperature, saturation, and contrast to achieve the desired visual effect.
4. Export to HDR Texture Format
File Format Selection: The generated HDR image should typically be saved in specific HDR texture formats such as Radiance HDR (.hdr) or OpenEXR (.exr). Both formats can store extensive lighting information and are widely supported by most 3D software.
Resolution and File Size: Choose an appropriate resolution based on your project needs. Higher-resolution HDR textures provide more detail but also increase file size. Balancing resolution and file size is essential for ensuring rendering efficiency and image quality.
5. Apply HDR Textures in 3D Software
Import and Apply: Import the HDR texture into your 3D software, such as Blender, 3ds Max, or Maya, and apply it to your scene. These textures are typically used for environment lighting, reflections, and panoramic backgrounds to enhance the realism of the scene.
Lighting Adjustments: Adjust the strength and direction of the HDR texture based on the project requirements to achieve the ideal lighting effect. Proper use of HDR textures can significantly improve the realism of your rendered images.
6. Test and Debug
Rendering Tests: After applying the HDR texture, perform multiple rendering tests to check if the results meet your expectations. If issues arise, you may need to adjust the texture's exposure, tone mapping, or color correction to correct them.
Debugging and Optimization: Depending on the scene or lighting conditions, further optimization of the HDR texture may be required. Continuous tweaking and optimization will ensure the final render achieves the best possible results.
By following these steps, you can effectively convert standard images into high-quality HDR textures and leverage their benefits in 3D design. This process not only enhances the realism of your renders but also adds significant visual impact to your design projects.
If you're looking for high-quality HDR image resources, 3D textures, SketchUp models, or 3ds Max models to enhance your virtual scenes, Relebook offers a wide range of options to help you achieve outstanding visual results in your projects.
